Remove any excess dead tissue from the surface of the nail (technique of your choice: classic, e-file, or combined).
Shape and buff the surface of the natural nails with a 240-grit file or buffer to improve product adherence.
Remove dust with lint-free wipes or a brush soaked in cleanser.
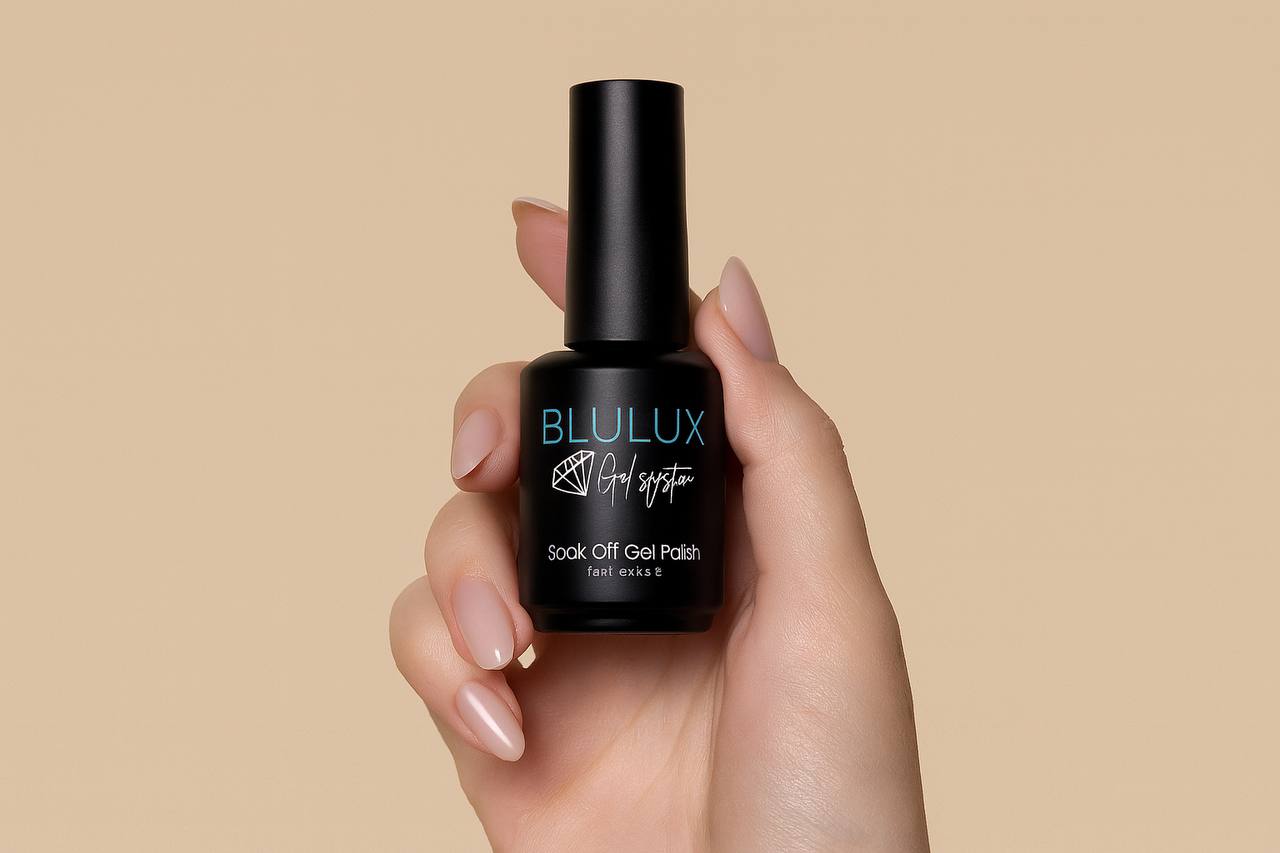
Step 2 – Gel Polish Application
Apply a thin layer of Acid-Free Primer on ¾ of the nail, avoiding cuticles and sidewalls. Allow 30 seconds to dry and evaporate, leaving a slight residue on the nail surface.
Apply Extreme Rubber Base with rubbing movements into the nail plate. Cure for 60 seconds.
Apply the first coat of gel polish and cure for 60 seconds.
Apply a second coat if necessary and cure for 60 seconds.
Apply Crystal Top (no wipe) and cure for 60 seconds.
Allow the top coat to cool for 60 seconds. Rushed application of oil or cream may cause the top coat to lose shine.
Finish by applying cuticle oil or cream.
Important:
Gel polish can be applied over BIAB, Cover Base, Hard Gel, or nail extensions.
Without overlays, gel polish typically lasts 2–4 weeks.
For long wear, refer to the BIAB / Cover Base / Hard Gel Guide.
BIAB/Cover Base Application
Step 1 – Nail Prep
Push back cuticles.
Remove any excess dead tissue from the surface of the nail (classic, e-file, or combined technique).
Shape and buff the surface of the natural nails with a 240-grit file or buffer to improve product adherence.
Remove dust with lint-free wipes or a brush soaked in cleanser.
Step 2 – BIAB / Cover Base Application
Apply a thin layer of Acid-Free Primer on ¾ of the nail, avoiding cuticles and sidewalls. Allow 30 seconds to dry.
Apply Rubber Base with rubbing movements into the nail plate. Cure for 60 seconds.
Apply one thin layer of BIAB / Cover Base to create a gliding surface (do not cure). Ensure it covers sidewalls and is applied as close as possible to the cuticle.
Apply a small bead (1 mm away from the cuticle) and spread it toward the free edge.
Turn the nail upside down at a 45° angle to even out the surface and create the apex. Use a thin brush if necessary.
Turn the hand every 10 seconds to allow the gel to level evenly. Cure for 60 seconds in low-heat mode to avoid heat spikes, or use a 24-watt lamp setting.
Apply Crystal Top (no wipe) and cure for 60 seconds.
Allow the top coat to cool for 60 seconds. Applying oil or cream too quickly may cause it to lose shine.
Finish by applying cuticle oil or cream.
Important:
BIAB and Cover Bases are highly recommended for short to medium-length nails.
For long nails, use Hard Gel.
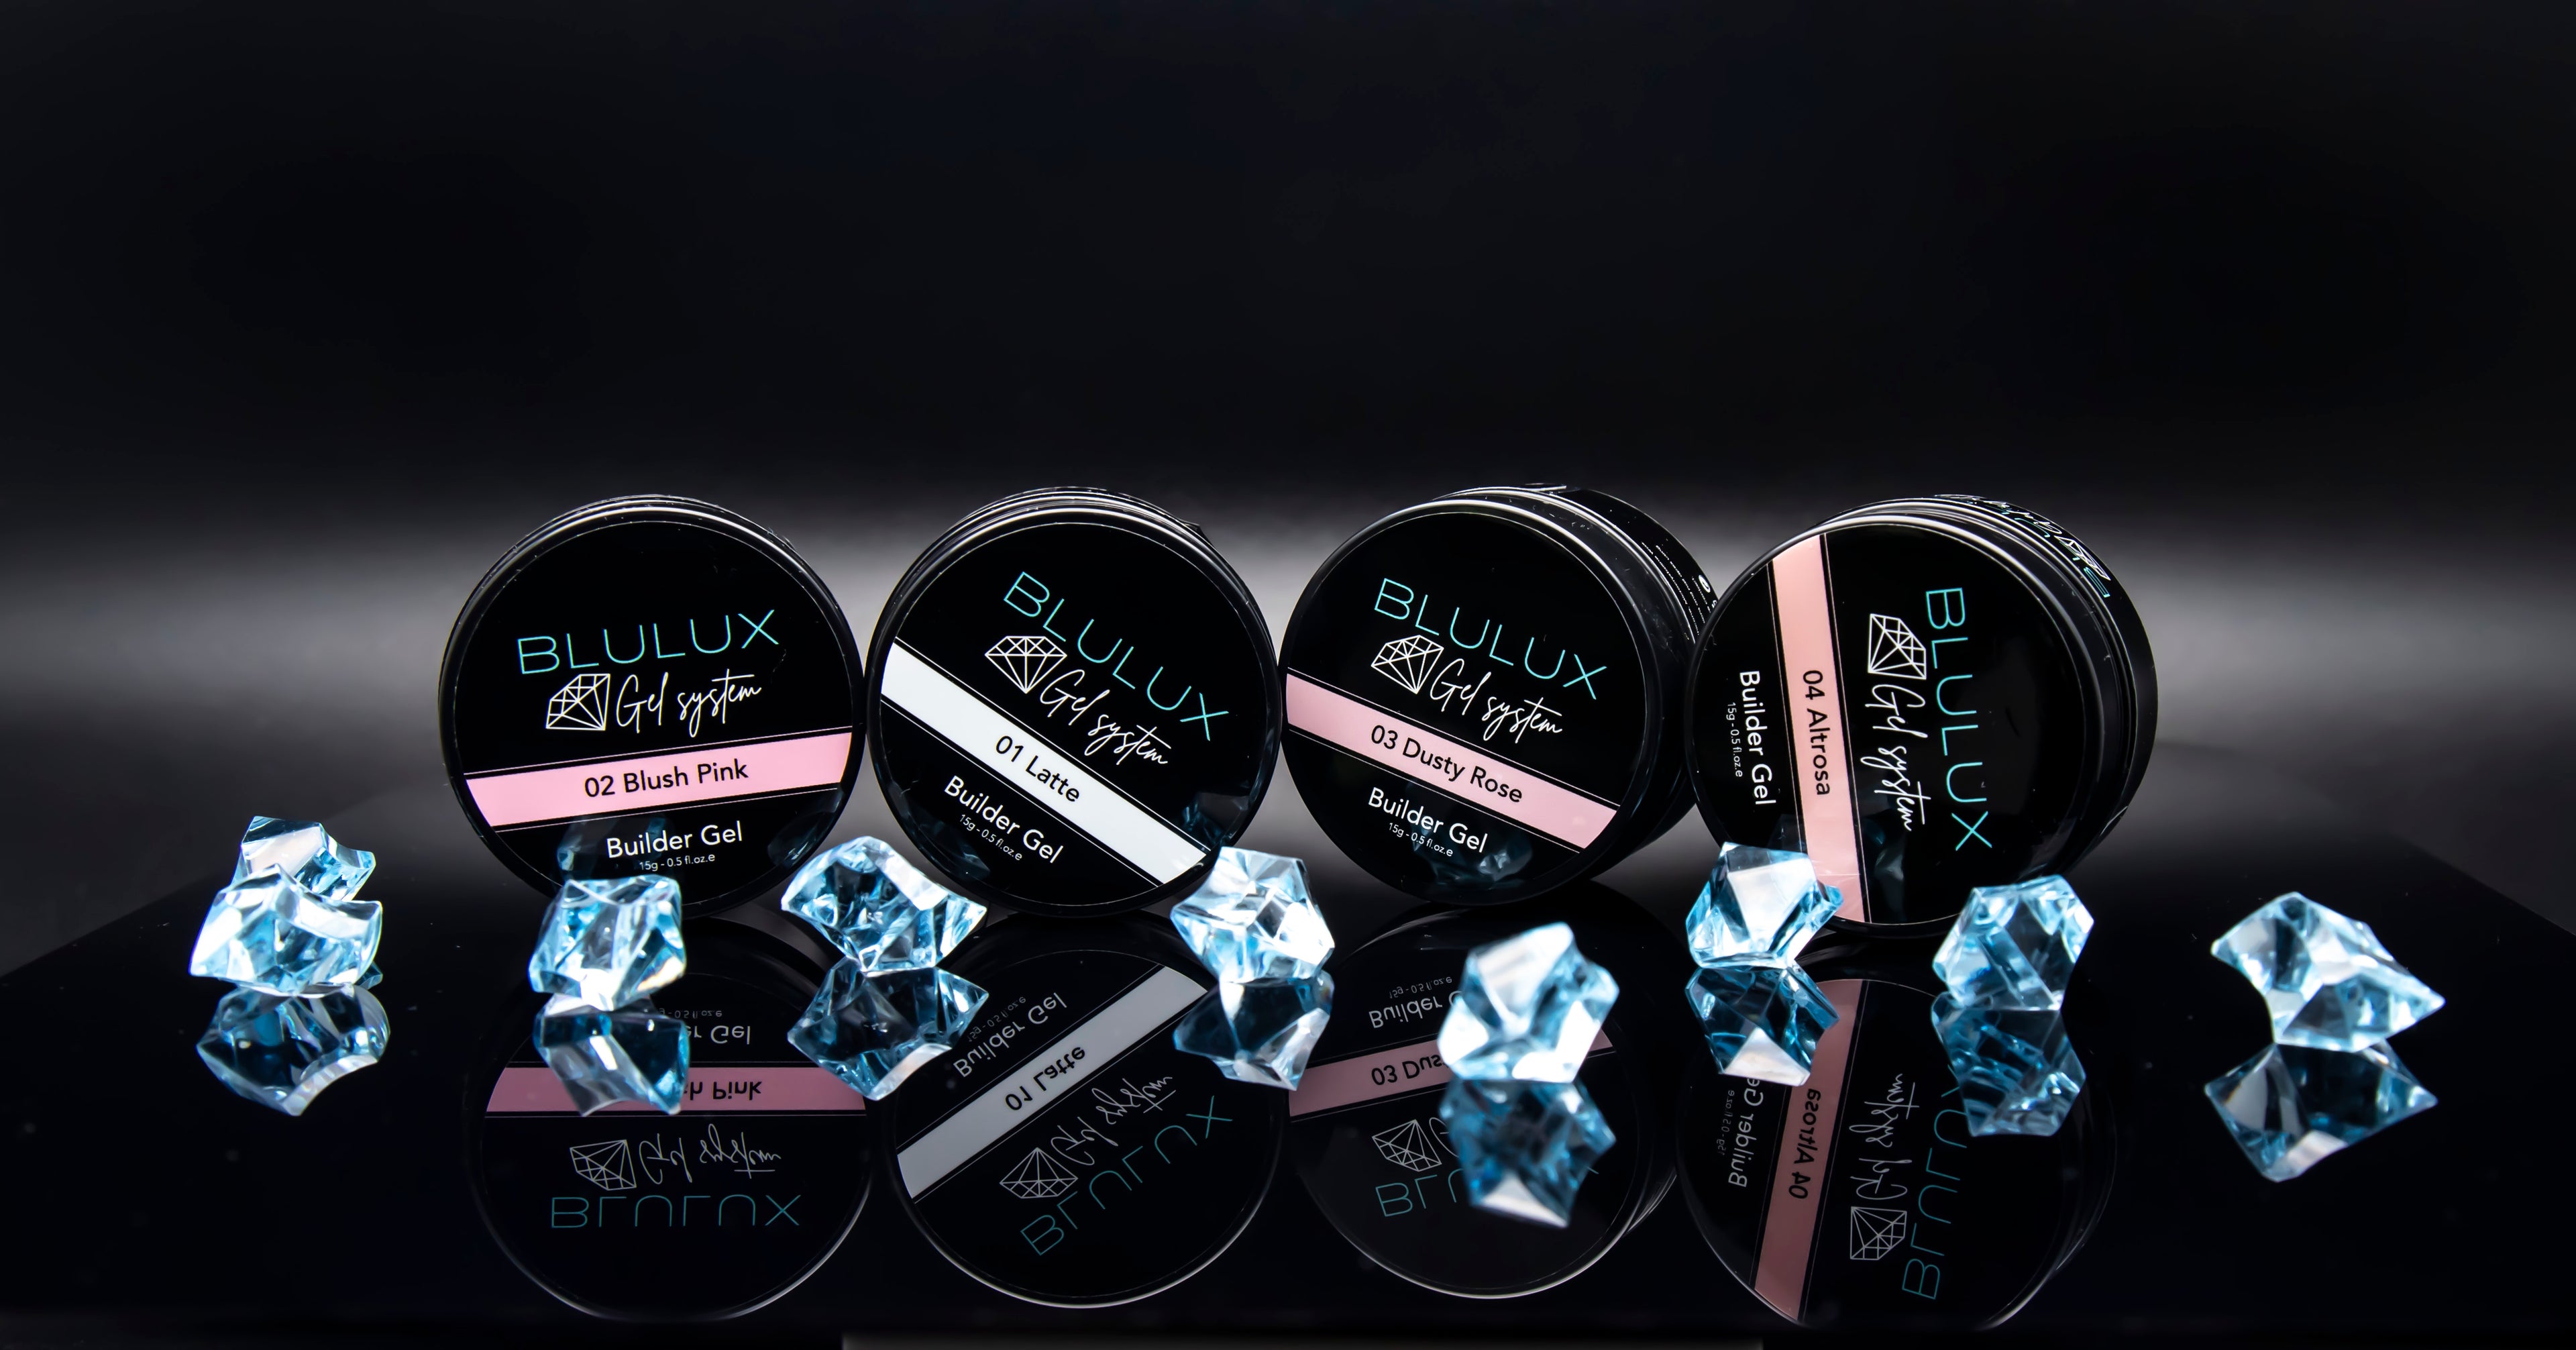
Builder Gel Application
Step 1 – Nail Prep
Push back cuticles.
Remove any excess dead tissue from the surface of the nail (classic, e-file, or combined technique).
Shape and buff the surface of the natural nails with a 240-grit file or buffer to improve product adherence.
Remove dust with lint-free wipes or a brush soaked in cleanser.
Step 2 – Builder Gel Application
Apply a thin layer of Acid-Free Primer on ¾ of the nail, avoiding cuticles and sidewalls. Allow 30 seconds to dry.
Apply Rubber Base with rubbing movements into the nail plate. Cure for 60 seconds.
Apply one thin layer of Hard Gel to create a gliding surface (do not cure). Ensure it covers sidewalls and is applied close to the cuticle.
Apply a small bead (1 mm away from the cuticle) and spread it toward the free edge.
Turn the nail upside down at a 45° angle to even out the surface and create the apex. Use a thin brush if necessary.
Turn the hand every 10 seconds to allow the gel to level evenly. Cure for 60 seconds in low-heat mode to avoid heat spikes, or use a 24-watt lamp setting.
Apply Crystal Top (no wipe) and cure for 60 seconds.
Allow the top coat to cool for 60 seconds. Applying oil or cream too quickly may cause it to lose shine.
Finish by applying cuticle oil or cream.
Important:
Hard gels are suitable for nail extensions, long nails, repairs, upper forms, and lower forms.
Acrygel Application
Step 1 – Nail Prep
Push back cuticles.
Remove any excess dead tissue from the surface of the nail (classic, e-file, or combined technique).
Shape and buff the surface of the natural nails with a 240-grit file or buffer to improve product adherence.
Remove dust with lint-free wipes or a brush soaked in cleanser.
Step 2 – Acrygel Application
Apply a thin layer of Acid-Free Primer on ¾ of the nail, avoiding cuticles and sidewalls. Allow 30 seconds to dry.
Apply Rubber Base with rubbing movements into the nail plate. Cure for 60 seconds.
It is mandatory to use Slip Solution (alcohol) to move and mold the product.
Recommended for use with upper or lower forms for extensions or repairs.
Cure for 60–90 seconds.
Shape, file, and buff to achieve the desired result.
Apply Crystal Top (no wipe) and cure for 60 seconds.
Allow the top coat to cool for 60 seconds. Applying oil or cream too quickly may cause it to lose shine.
Finish by applying cuticle oil or cream.
Important:
Acrygel is suitable for nail extensions, long nails, repairs, and use with upper or lower forms.
Please contact us for more information
Choosing a selection results in a full page refresh.